Reverie is a shader pack for Minecraft: Java Edition. On Modrinth, it is tagged as medium, PBR, semi-realistic, and atmosphere-focused, while the official platform listing names Iris as the supported shader platform. The current project compatibility pages show support at the project level for 26.1.x, 1.21.x, and 1.20.x, though the newest Beta 2 file on CurseForge specifically lists 26.1.x and 1.21.x support, while Beta 1 listed 1.20–1.21.11. For practical use, that means 1.21+ is the safest target right now, with Iris being the intended way to run it.
Why Reverie looks different from many other shaders
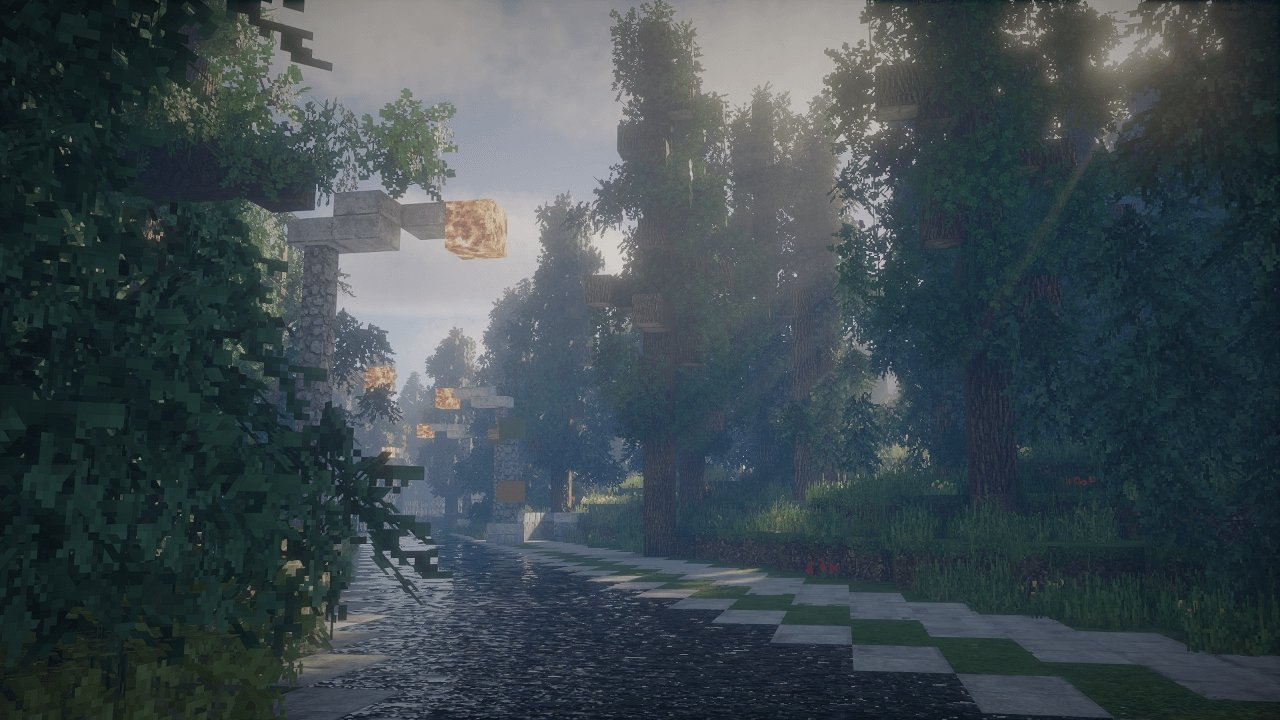
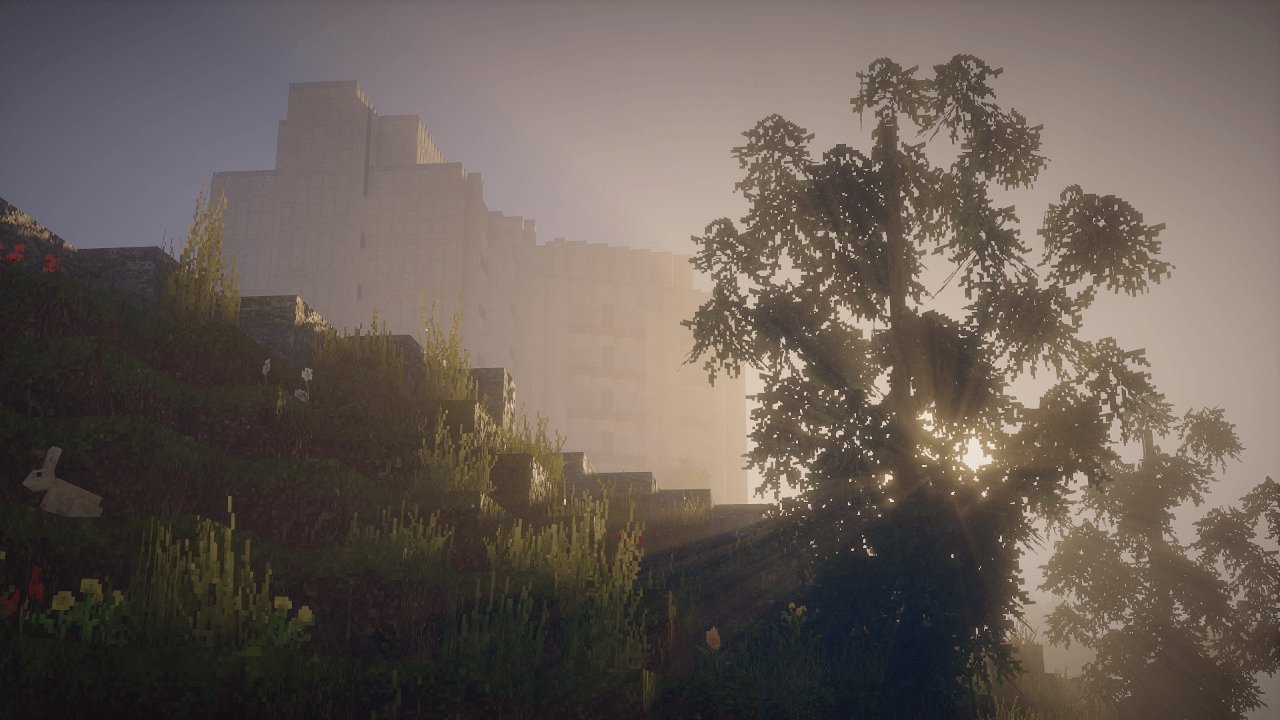
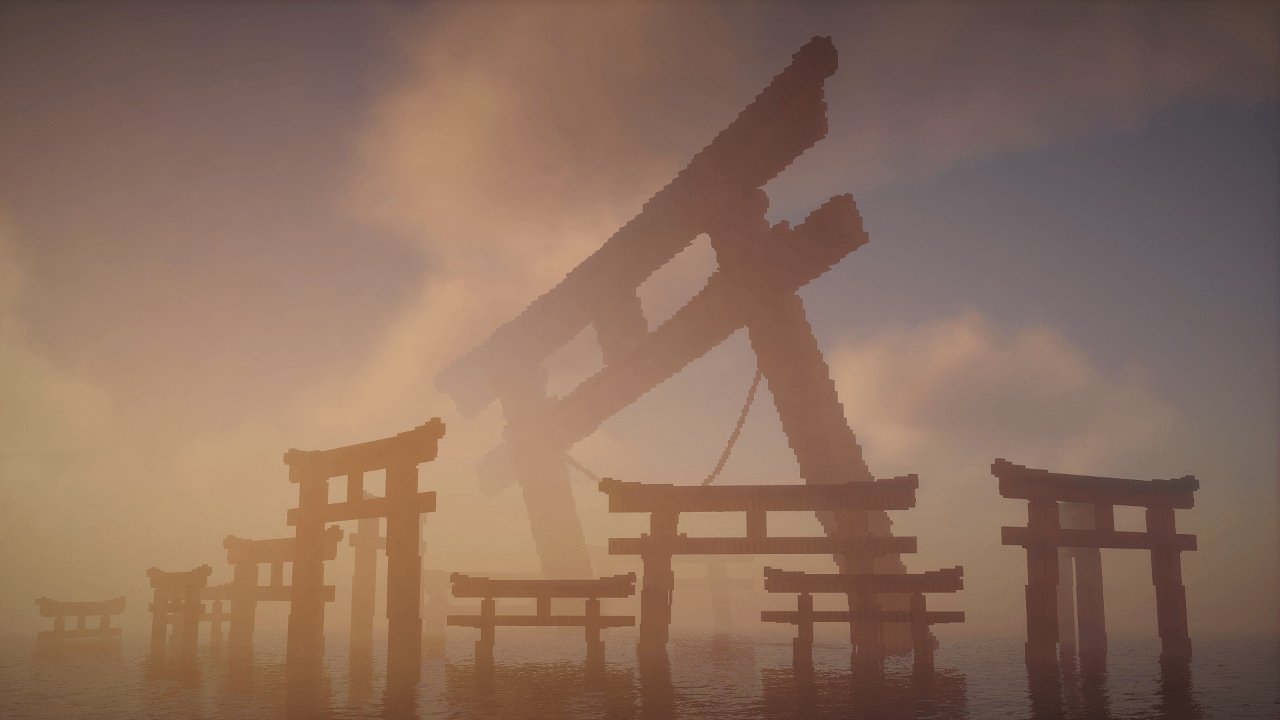
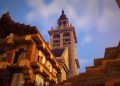
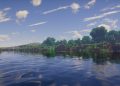
A lot of Minecraft shaders sell themselves on sharp reflections, dramatic contrast, or heavy realism. Reverie goes another way. Its official description focuses on atmosphere and indirect lighting, and the gallery backs that up visually with mist, sunshafts, warm haze, and soft scenery instead of hard-edged punchy contrast. That gives the shader a more “dream sequence” feeling than a pure realism shader.
In simple terms, Reverie seems built for players who want Minecraft to feel calm, cinematic, and a little magical. Forest paths, sunrise builds, lantern-lit streets, and foggy terrain are the kinds of scenes where it should shine most. Based on the latest changelog, the shader is also actively improving its lighting and fog systems, with Beta 2 adding better ambient lighting, a floodfill colored-lighting option, and a fix for fog upscaler pixelation.
Main features worth talking about
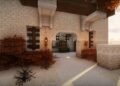
The official descriptions and tags point to a few key strengths. First is the warm fog-heavy atmosphere, which seems to be the pack’s signature look. Second is advanced indirect lighting, which helps scenes feel fuller and less flat. Third is its official support for Distant Horizons and Voxy, which matters for players building big cinematic worlds or using modern rendering add-ons.
The recent update trail also shows active tuning rather than a static release. Beta 1 added Voxy support, a new overworld fog system, less flat clouds, more settings options, and bug fixes. Beta 2 followed with translucency fixes for 26.1, improved ambient lighting, a fog upscaler fix, and more general bug fixes. That tells me Reverie is still evolving, not frozen in an early demo state.
Is Reverie good for survival gameplay?
Probably yes, if you like mood over raw clarity. Reverie’s visuals look designed to enhance exploration, forests, villages, and scenic builds. The tradeoff is that stronger fog and softer lighting can sometimes reduce plain visibility compared with lighter “gameplay-first” shader packs. Since the developer says Reverie is still in beta and still has missing features and bugs, it is smarter to treat it as an ambitious visual pack that is getting better, rather than a fully finished no-compromise shader.
Performance and compatibility
Reverie is officially labeled as a medium shader on Modrinth, which suggests it is not positioned as an ultra-light option. It also relies on Iris-specific features according to the official description, and the requirements section says Iris 1.8 or higher and Minecraft 1.21+, with older versions only a maybe. Hardware notes on the CurseForge page say Nvidia works, AMD on Windows works, Mesa works, Intel on Windows is unknown, and Mac is broken.
That means Reverie is not the shader I would pitch as a safe recommendation for every PC. It looks more like a style-first pack for players with a decent setup who want atmosphere and do not mind some beta rough edges.
Final verdict
Reverie is shaping up to be one of the more distinctive Minecraft Java shaders for players who want a foggy, warm, dreamy look instead of aggressive realism. Its strengths are atmosphere, soft lighting, godrays, and cinematic mood. Its limitations are also clear: it is still in beta, it is not positioned as a low-end shader, and Mac support is officially broken. But for players on Iris who want a more artistic world, Reverie already looks promising.
How to install the Reverie Shader
- Install OptiFine or Iris: Download and install OptiFine or Iris to enable shader support in Minecraft.
- Download The Shaders: Obtain the shader pack from the official links provided below.
- Place in Shaderpacks Folder: Move the downloaded shader pack file to the
.minecraft\shaderpacksdirectory. - Activate in Minecraft: Launch Minecraft, go to Options > Video Settings > Shaders, and select The Shaders from the list.
✅ None of the files are hosted on our server. All direct download links on our website are official authors links. The packs are free of viruses. Therefore, they are completely safe and secure.
✅ Please share this post on social media.
✅ Are there any thoughts you’d like to share? Please write a comment and rate the pack.


