Looking to turn your Minecraft world into a cinematic masterpiece? The Bliss Shader Pack, when combined with the powerful and lightweight Iris Shader Loader, gives you stunning graphics, soft shadows, volumetric clouds, and enhanced lighting — without sacrificing FPS.
In this step-by-step tutorial, we’ll walk you through exactly how to install Bliss Shaders using Iris on Minecraft Java Edition, updated for 2025 and compatible with the latest Minecraft versions.
This guide is perfect for:
New players trying shaders for the first time
Experienced players switching from OptiFine to Iris
Anyone wanting better performance with modern shaders
📌 What Is Bliss Shaders?
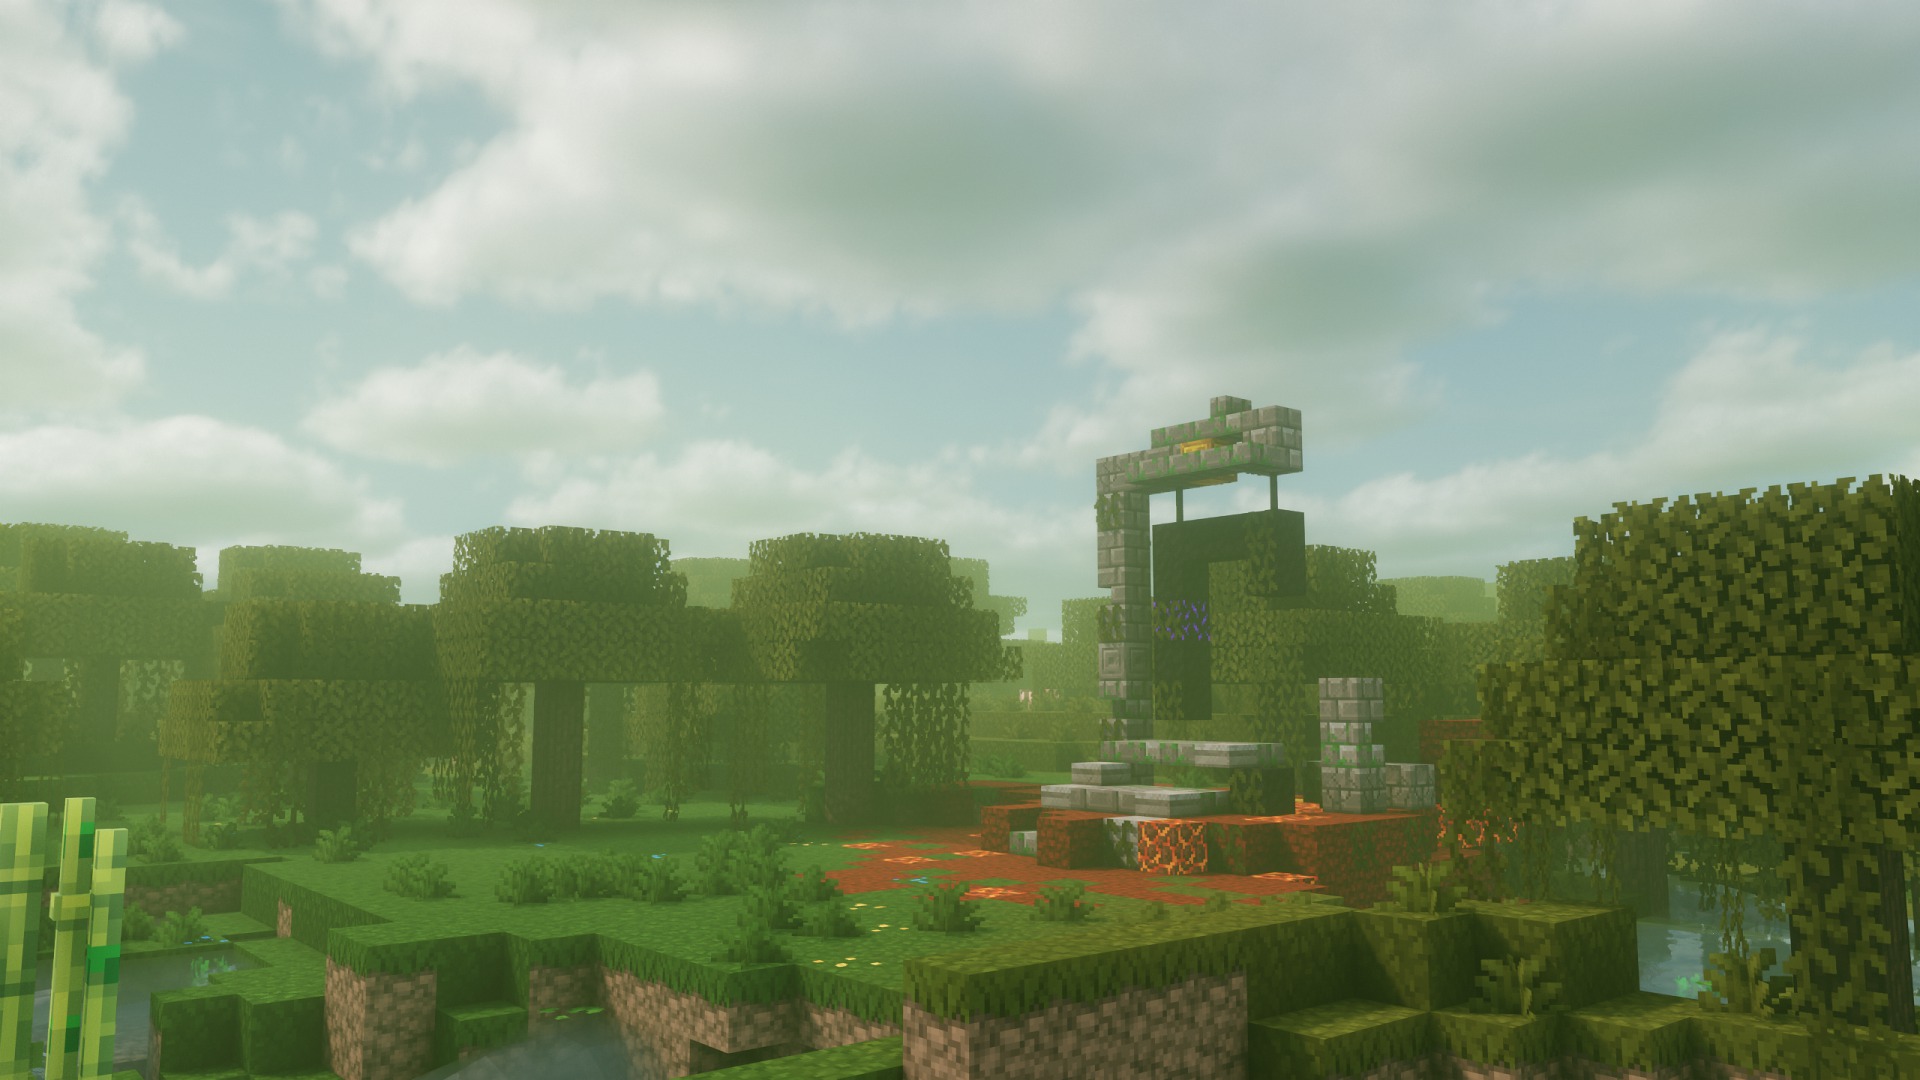
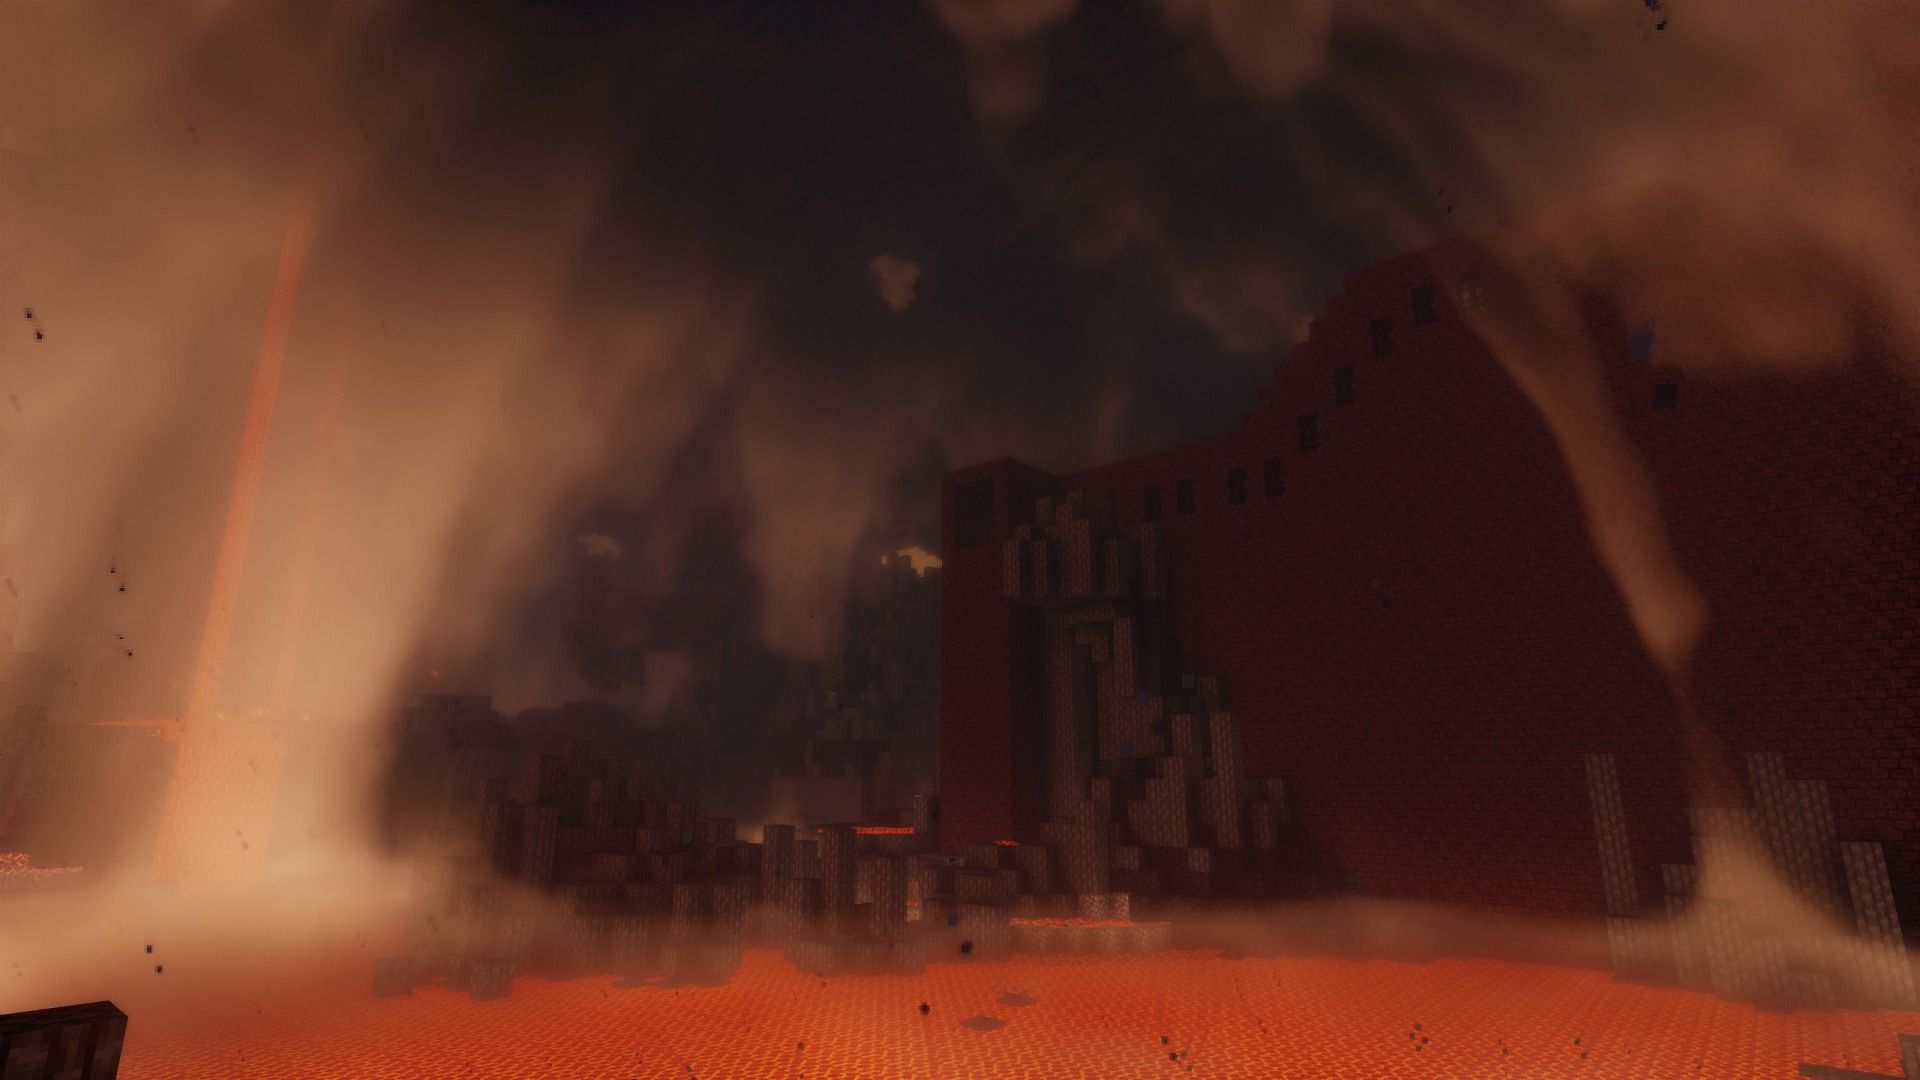
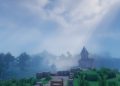
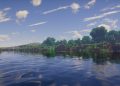
Bliss Shader is a next-gen Minecraft shader pack designed for realistic lighting, dynamic shadows, and custom weather effects. It’s compatible with LabPBR textures, making it ideal for RTX-style visuals on Java Edition using Iris.
🧰 What You’ll Need (Before You Begin)
| Requirement | Description |
|---|---|
| Minecraft Java Edition | Version 1.17 or newer (recommended: 1.21.X or above) |
| Java Installed (JRE) | Required to run the Iris installer (.jar files) |
| Iris Shader Loader | A lightweight, modern shader loader that works with Fabric |
| Bliss Shader (.zip) | Shader pack file downloaded from Modrinth |


🪜 Step-by-Step: How to Install Bliss Shaders Using Iris
✅ Step 1: Download Bliss Shader Pack (Latest Version)
Visit the official Bliss Shader page:
🔗 https://modrinth.com/shader/bliss-shaderClick on the “Download” button for the latest compatible version.
Ensure the file is saved as a
.zip— DO NOT extract it!
✅ Step 2: Download and Install Iris Shaders
Go to the official Iris Shader website:
🔗 https://irisshaders.net/downloadClick on “Download Universal Installer”.
Once the
.jarfile is downloaded, double-click it to open the installer.Inside the Iris installer:
Select Minecraft Version: Choose the latest supported version (e.g. 1.21.X).
Install Type: Choose “Iris + Sodium” (Sodium boosts performance).
Click “Install”.
🎉 The installer will automatically install Fabric and create a new launch profile.
✅ Step 3: Launch Minecraft with Iris
Open your Minecraft Launcher.
In the bottom left, select the new profile:
“Iris & Sodium” or “Iris for [your version]”.Click Play to start the game.
✅ Step 4: Open the Shader Folder in Minecraft
From the Main Menu, go to:
Options→Video Settings→Shader PacksClick on “Open Shader Pack Folder”.
A new window will open — this is where you place your
.zipshader packs.
✅ Step 5: Install Bliss Shader
Move or copy the
bliss-shader.zipfile you downloaded earlier into this folder.Return to Minecraft, and you’ll now see Bliss listed as a shader option.
Select Bliss and click “Apply”.
⚙️ Optional: Optimize Bliss Settings for Your PC
For High-End Systems:
Enable volumetric clouds, PBR reflections, screen-space GI, and sunlight scattering.
Use 2048x PBR texture packs with LabPBR support.
For Mid or Low-End Systems:
Set shadows to medium, reduce render distance to 8-10 chunks.
Disable caustics, bloom, and screen-space effects to improve FPS.
🎮 Conclusion
Installing Bliss Shaders with Iris on Minecraft Java Edition is easier than ever. You’ll get cinematic visuals, realistic shadows, smooth performance, and true immersion — all without the limitations of OptiFine.
Whether you’re building in Creative or surviving hardcore nights, Bliss Shader turns Minecraft into a whole new game.
👉 Start playing Minecraft the way it was meant to be seen.


